Hey everyone! I’m Adnan from The Insurtech Guide. We’ve all got insurance for our cars and our homes, but what about our digital lives? In a world of data breaches, online scams, and identity theft, our biggest risks are often online. I used to think cybersecurity was just about having a strong password.
But after a friend went through the nightmare of identity theft, I realized I needed a real safety net. I started researching and discovered a new wave of InsurTech companies offering personal cyber insurance through simple, easy-to-use apps.
I decided to go through the process myself to see how it worked. It was surprisingly fast and straightforward. In this guide, I’ll show you the exact steps on how to get a policy using a personal cyber insurance app to protect yourself and your family.

Table of Contents
Step 1: Find a Specialized InsurTech Provider
The first thing I learned is that personal cyber insurance isn’t something most traditional, big-name insurers offer. You need to find a specialized InsurTech company that focuses on this modern risk.
Based on my research, I looked for apps specifically designed for cybersecurity for individuals. A few names that came up were Blink by Chubb or other dedicated platforms. I chose one with good reviews and a clear, easy-to-understand website.
Step 2: Get an Instant Quote (It’s Easier Than You Think)
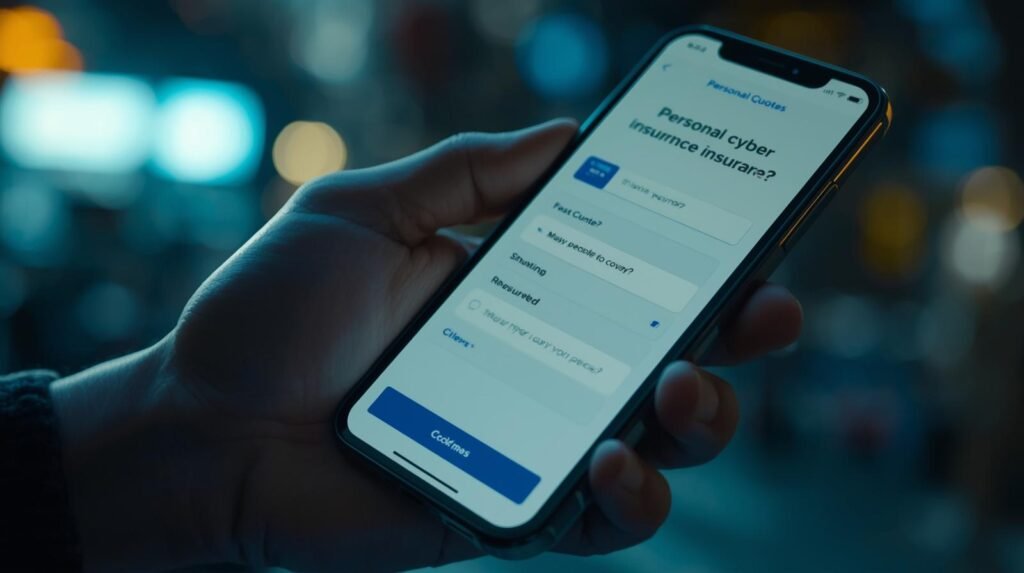
This was the part that amazed me. I was expecting a long, complicated questionnaire about my online habits. Instead, the process was incredibly simple.
My Experience: I opened the app and answered just a handful of basic questions:
- My name and address.
- The number of people in my household I wanted to cover.
- The coverage limits I was interested in.
There were no technical questions about my computer or my online security. The app provided an instant, no-obligation quote in about 60 seconds. The monthly cost was surprisingly low, comparable to a streaming service subscription.
Step 3: Understanding Your Personal Cyber Insurance App Coverage

This is the most important step. Before paying, I took ten minutes to carefully read what the policy actually covered. This is what a typical plan from a personal cyber insurance app includes:
- Identity Theft Recovery: This is the core feature. If your identity is stolen, the company provides you with a dedicated expert to do the hard work of restoring it. They cover costs for legal fees, lost wages, and other expenses.
- Cyberbullying and Online Harassment: This provides funds for therapy, online content removal services, and even temporary relocation costs if you or a family member is a victim of severe online harassment.
- Ransomware and Cyber Extortion: If a hacker locks your computer and demands a ransom, the policy can cover the payment and the cost of expert help to recover your data.
- Online Fraud: This covers financial losses from things like phishing scams or unauthorized bank transfers that your bank might not cover.
Understanding these four pillars is key to knowing the value you’re getting.
Step 4: Purchase and Activate Your Policy
Once I was comfortable with the coverage and the price, the final step was easy. I selected my desired plan, entered my payment information, and confirmed the purchase—all within the app.
Instantly, my policy documents were available in the app and sent to my email. I was now officially covered. The entire process, from downloading the app to being fully insured, took less than 20 minutes.
It’s a powerful and simple way to add a crucial layer of protection to your modern life. In a world where digital risks are everywhere, using a personal cyber insurance app is one of the smartest and most proactive steps you can take.


Leave a Reply